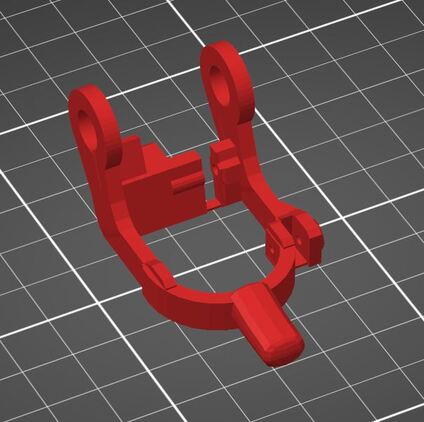
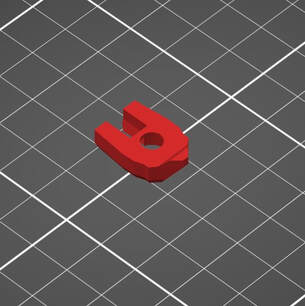
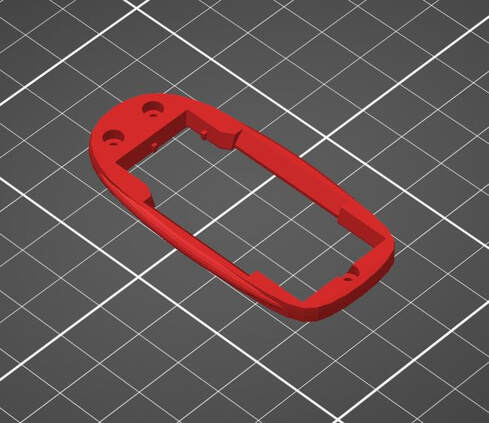
1.The bolt stopper loosen when frequently used , causing air leakage. 1.5.4 patch can improve.
2. Increase the length of the push rod by 0.2mm
2. Increase the length of the push rod by 0.2mm
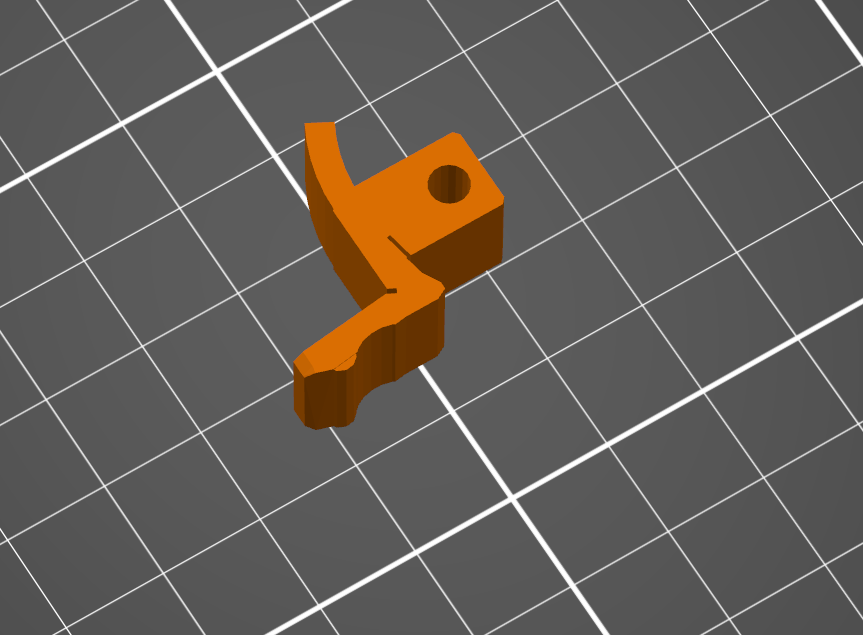
| ba7_stopper154.stl |
| ba7_push154.stl |

|
|
1.The bolt stopper loosen when frequently used , causing air leakage. 1.5.4 patch can improve. 2. Increase the length of the push rod by 0.2mm
0 Comments
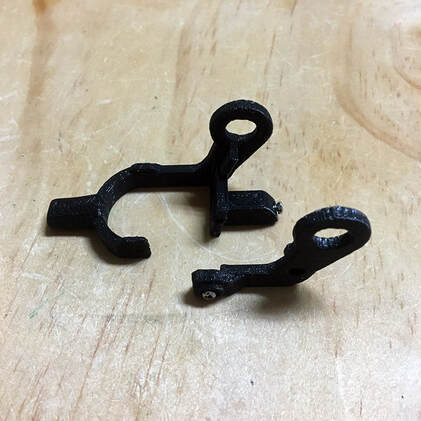
Recommended software to view the model: k-studio(STL Preview Thumbnails in Windows) https://www.jspb3d.com/events/optimize-your-production-process Machine setting: Layer height 0.2~0.25 / Nose 0.4 0.5 0.6 Material used: PLA / PLA+(PLA2.0) Increase the success rate: It is recommended to use glue for the platform, These objects must turn on the Brim: nj_rasen+brim_.stl & nj_main_grip+brim_30_infill.stl Note: The tightness of the "rasen chamber" will affect the shooting range. We provide you with two models : nj_rasen+brim_ &nj_rusem+brim_prusa_tight_fit, one is normal and the other is tighter. About the malfunction: 1. Can't fire when trigger is pressed. When assembling the trigger, the trigger must be able to slide and release easily. Adjust the upper screw of the trigger to achieve a smooth operation after 2~6 uses. Be careful when operating the trigger, it may catch on your hand. 2.The impact caused the fire. This occurs when the trigger spring is not strong enough and the piston rod is angled out of place, You can take the trigger spring out, extend the spring and put it back in, it's a complicated process, we're changing the model to make it easier to take apart. A better seal: We offer a Perfectcut.stl that will help you cut the cork more efficiently. We are testing different materials on the cork and some of them work well! 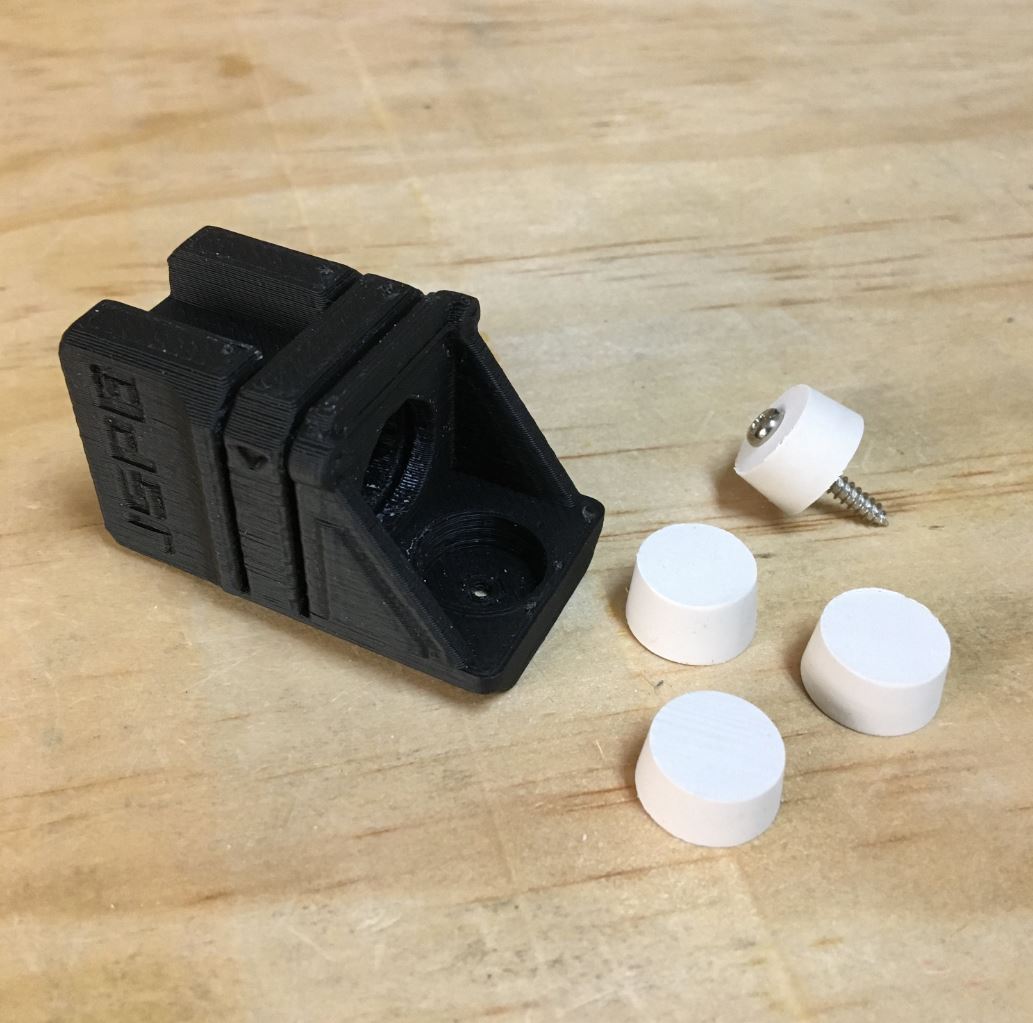
Some reports: The spiral chamber has improved accuracy so much that the next time we release a cyberninja it will no longer give you a scar barrel, which is too complicated to make, we're developing a new accessory, and it's a blaster stock. Q1: The trigger cannot release the piston. A1: This is the tolerance of some parts. A small number of transmitters will encounter this problem. You can take one of the XS screws on the side and install it at the top of the trigger, as shown in the figure: 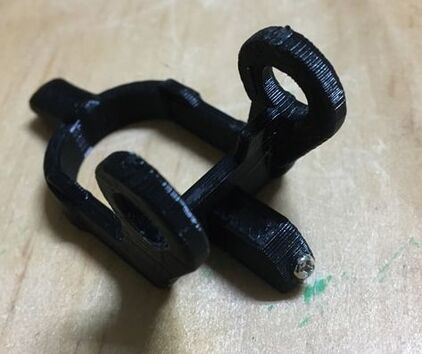 You can adjust the angle of trigger release, i will add screws next time. If you want to apply for new parts, please contact Z-LIN(Ezekiel lin). Q2: The trigger completely unable to move A2: Download a new catch, or use sandpaper to polish the corners 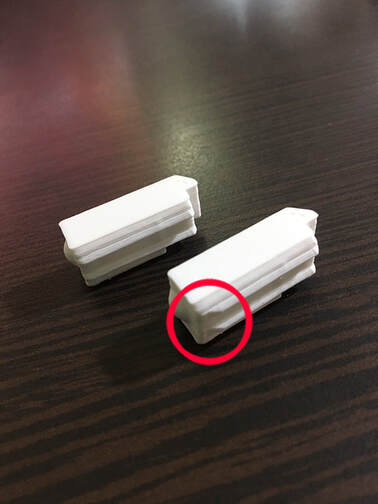
Q3: The trigger cannot rebound. A3: When the Rasen chamber is not installed, if the trigger rebound force is insufficient, it means that the spring in the middle of the grip is crooked, please reinstall it. If the trigger is abnormal when installing Rasen chamber, please polish the trigger: 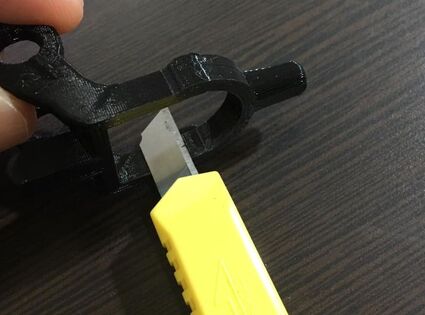 Download Adjustable trigger: This requires additional use of three xs screws.
Q4: Dart weak flight A4: Check if there is air leaking from the gap 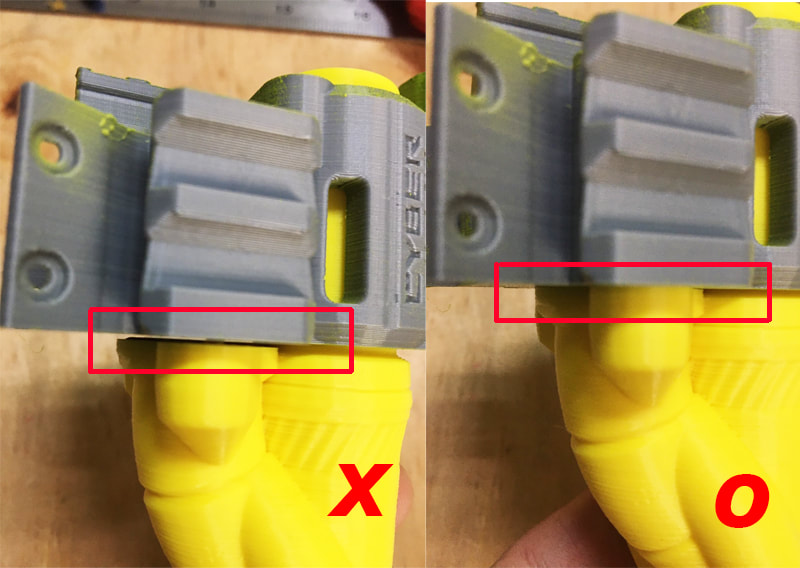 spare/Replacement parts
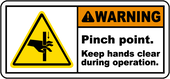
1. When inserting darts, you may get your fingers stuck, please use your little finger or pen. 2. The trigger needs to be pressed hard to the end. After a few times of operation, it will be smoother. 3. The speed of the dart in the test is about 60~70fps,If you feel that the power is insufficient, it is possible that the O-ring of the piston is in the incorrect position, please open and reinstall the O-ring. 4. [00:24 ]The trigger is blocked by the trigger guard, please loosen the screws of the trigger guard 1. This step requires a little skill, and the installation process requires pressing hard and locking the screws 2. T-PULL screws can be pre-installed halfway. 1. The last screw is to ensure safety to prevent accidental touch. 2. There is a cork on the Push rod , we are in this step to make the Push rod track smooth,we will install the cork later. Please protect your eyes and wear goggles. Be careful with plastic ejection using diagonal pliers *Tips: If the diagonal pliers are not sharp enough to cut off,You can use a lighter to soften the plastic (Bake for 1 second) and then cut it off. Please protect your eyes and wear goggles. Be careful with plastic ejection using diagonal pliers  There are two ways to make a barrel BASIC WAY:1.SCAR Barrel-Basic build method without professional tools. 2. The tape avoids overlapping. PRO:WARNING!
1. Please use tools carefully to avoid injury. (You can also find suitable tools) 2. Do not cut too deep to avoid cracking. 3. The video has changed speed, please follow your own speed ---------------------------------------------------------------------------------------------------->>> Difficulty levels: ★★★☆☆ Time required: 3 ~4 HR 1. Safety first Please wear protective goggles and pay attention to the reminders in the manual. 2. DIY-kit list: 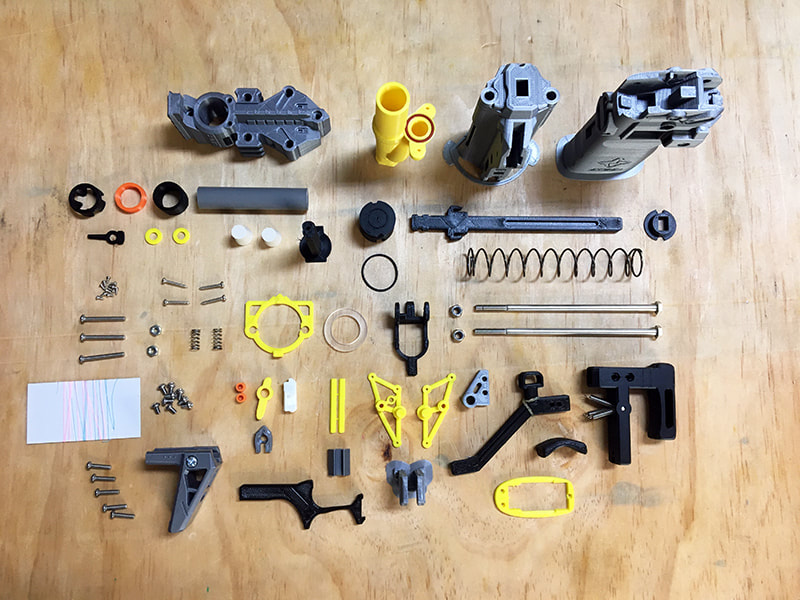 3. Tool list: Necessary: 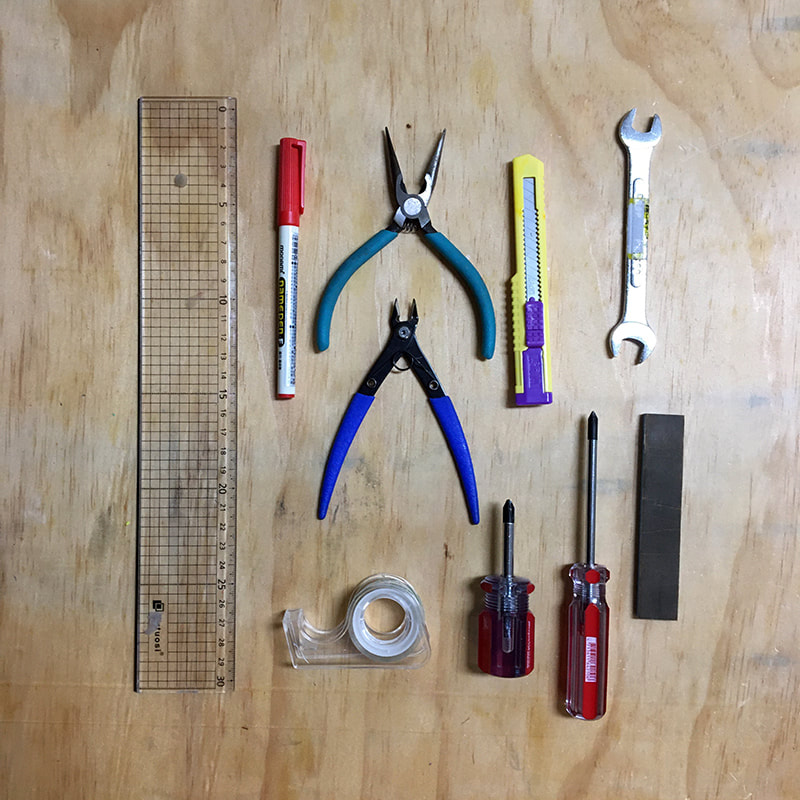 Professional tools: 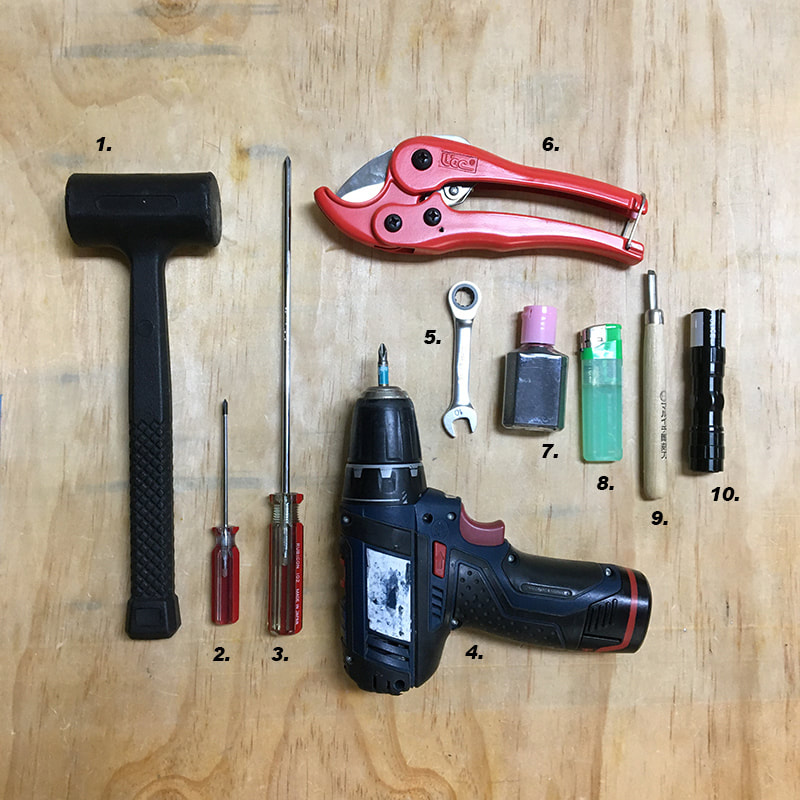
DOWNLOAD MANUAL- PDF
|
AuthorZ-LIN 
Archives
June 2021
Categories |
||||||||||||||||||||||||||
LICENSE AGREEMENT
|
If the product has any flaws, please send a message to the webmaster, you can replace the components free of charge.
|

|

|
©2003-2020JSPB
|

 RSS Feed